USRP E312 Battery Replacement Instructions
Application Note Number
AN-732
Revision History
| Date | Author | Details |
|---|---|---|
| 2016-12-05 | Robin Coxe | Initial creation |
Abstract
This application note covers replacing the battery cell inside the USRP E312.
Overview
Replacing the battery cell inside the USRP E312 is a delicate operation. Please handle battery cells with care, dispose of the old battery properly, and consult the “Battery Safety Information” section of the USRP E312 Getting Started Guide. https://kb.ettus.com/E310/E312_Getting_Started_Guides.
Process
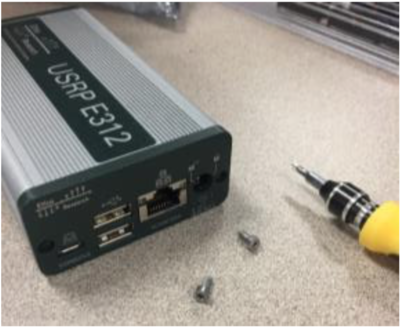
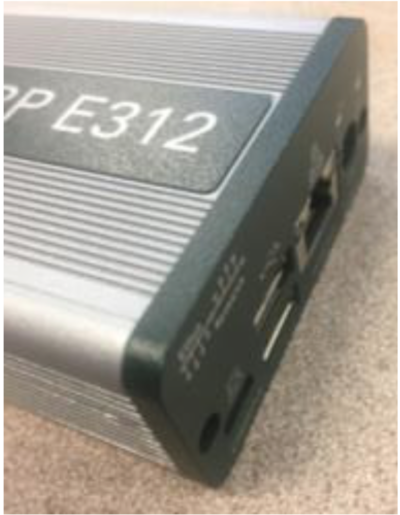
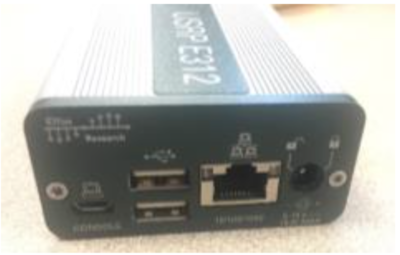
1. Remove the two retaining screws from the USRP E312 rear panel using a Torx T8 driver. The rear panel provides access to the USB, Ethernet, and AC power connectors.
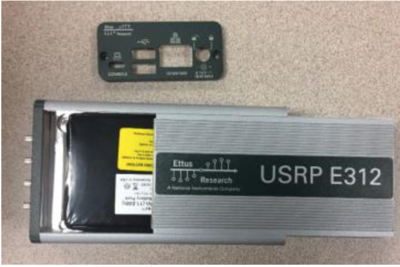
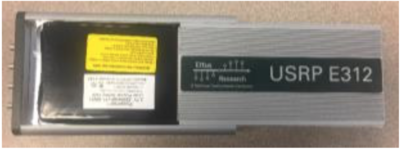
2. Carefully pry off the rear panel and slide off the top cover of the USRP E312.
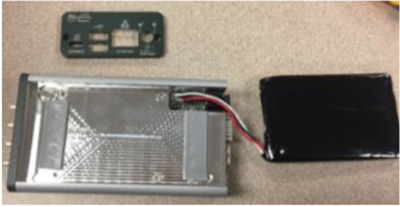
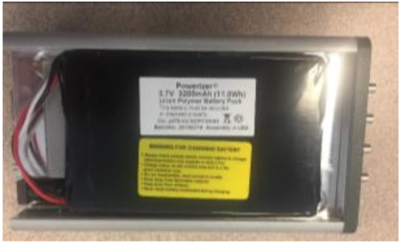
3. Lift the battery cell from the tray and set it aside.
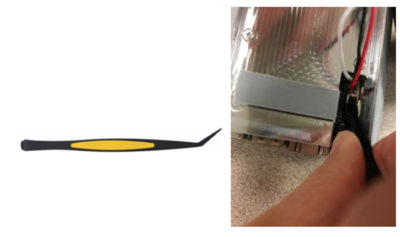
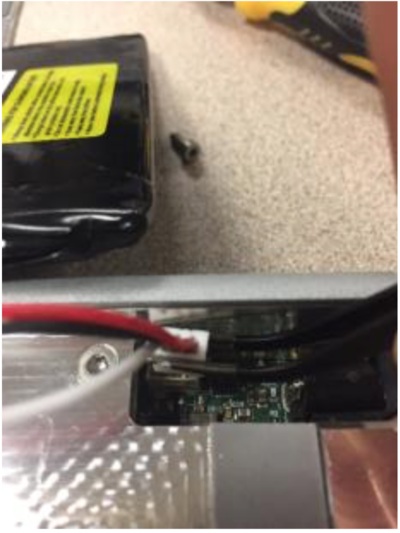
4. Grasp the sides of the white plastic battery cell connector with a pair of bent-tip tweezers.
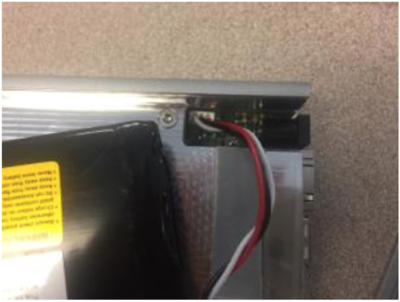
5. Gently extract the connector from connector J1 on the E312 motherboard.
6. Insert the white plastic connector of the replacement USRP E312 battery cell into connector J1 on the motherboard. Ensure that the white wire is closest to the T8 Torx screw securing the battery tray to the USRP E312 motherboard.
7. Place the replacement cell in the battery tray. Make sure the battery wires will not impinge on the top cover of the USRP E312.
8. Align the top cover in the tracks at the top of the USRP E312 enclosure and slide it back into place.
9. Replace the rear panel. Tap on the edges to ensure it is flush with the enclosure.
10. Replace the rear panel two retaining screws with a Torx T8 driver.
11. Plug in the USRP E312 unit to charge the battery. The battery should be fully charged within 2 hours. Do not charge the battery for more than 24 hours. Once the battery is charged, the USRP E312 unit can be unplugged, powered on, and operated standalone.

